From VenturaPublications.com
F9F-5 Panther, Grumman. 1/32nd, Fisher. Part 1
By Meindert de Vreeze, IPMS The Netherlands
Jun 16, 2006, 13:03
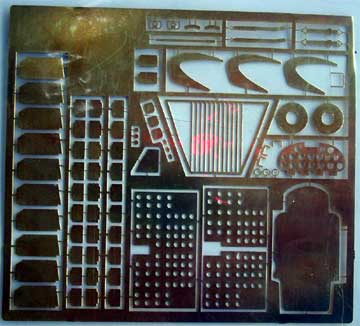
Fisher Model and Pattern issued a 1/32 kit of the Grumman F9F-5 Panther as kit number 3201 in 2005. It is a very impressive kit in full resin with additional etched metal parts and nice decals including stencilling.
The Grumman F9F Panther was a single-seat, single-engine, carrier-based, jet fighter used by the US Navy and Marine Corps during the Korean War. The F9F Panther fighter was Grumman's first jet-powered aircraft for the US Navy. Development studies began at the end of the second world war as the first jet engines emerged. The prototype first flew on 24 November 1947, and deliveries to US Navy squadrons began on 8 May 1949. Production of the F9F ended January 1953 after about 1,300 were built. Various variant were developed and the F9F-5 was the last and most numerous of the Panthers built, being some what larger than previous variants. (Also a swept wing variant was developed based on the Panther, called the Cougar).
The Panther kit costs about U$ 150,= and although at first site not cheap, you get a very impressive and nice model well worth the money. Certainly compared to good injection moulded 1/32 kits , the price is competitive. The kit was ordered directly through the Internet http://fishermodels.com/ site and came in a very sturdy box within a month.
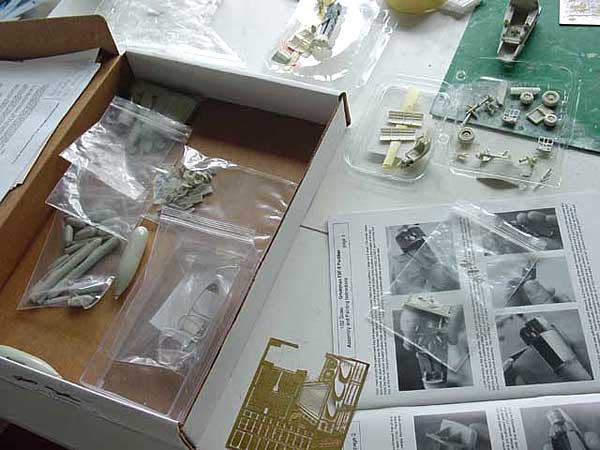 |
| Instructions are comprehensive and have a personal touch as Paul Fisher clearly shows you how to get most out of this model with a step by step description and black and white pictures. |
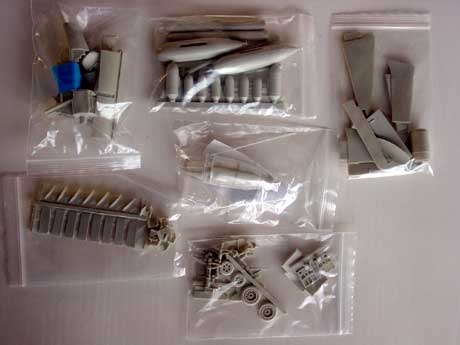
You get in the Panther kit various optionable parts such as separate flaps, choice of how to make the canopy, choice of weapons and stores and also very nice additional options such as speed brakes. All the parts of mainly resin and etched metal are impressive. Cockpit is well detailed with a very nice seat, instrument panels, side walls etc etc.
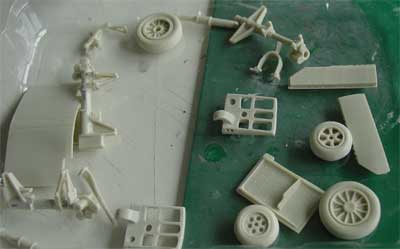 |
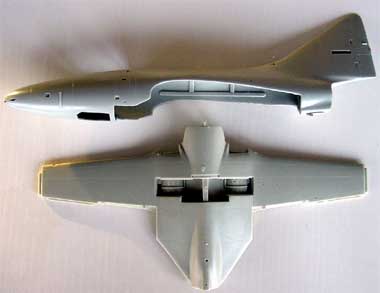
| The resin is executed in a superior fashion with a clever kit parts breakdown. The resin is very sturdy and has a fine surface texture and need minimal trimming and removal of Resin flash. |
The undercarriage legs have metal rods moulded in to get the necessary strength as the model in resin weighs quite a lot. You also get some "spare parts" in areas in case you loose on or when there are some options such as tow types of main wheels.
Parts fit is very good with minimal filler being required at the wing-fuselage junction. Before starting the assembly and painting, thoroughly clean up all the parts with a bath of water and soap. Assembly is rather simple just as a "normal kit" using superglue and two-component bonding glue.
OK, let's begin...
The cockpit section is very well detailed. Drybrushing revealed the various details on the side walls etc. I used some home made instrument decals to make the main instrument panel.
 |
| Also add enough counter weight! Use small "Dollar" or "Euro" coins. |
 |
| Speed brakes were set half open and have nice detail (with metal parts). The bay was painted red and is seen here masked for spraying. |
 |
| Flaps, aileron and stabilizer are very nice separate parts. I suspect the slats have to extend and droop a bit when flaps are also drooped. As the kit has no separate slats, I only drooped the rear trailing edge flaps a few degrees. |
Continue to Part 2
© Copyright 2004-2013 VenturaPublications.com and contributors.
|