From VenturaPublications.com
Curtiss P-40B (Tomahawk IIA). 1/48th. Trumpeter
By Calum Gibson - gibstuff.net
Mar 29, 2009, 15:41
Trumpeters P-40B in 1/48 has copped a fair bit of criticism on various web sites. Mainly directed at the cockpit and rivet detail. I certainly agree that the cockpit is pretty average. It's very shallow and just doesn't look right. You could use a resin detail set to correct this though.
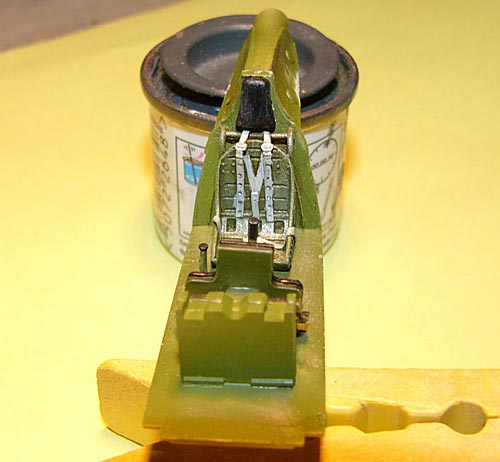
I replaced the kit seat with a Ultracast one but didn't bother with a resin cockpit as I was after a quick and in-expensive build. I also added some Ultracast exhausts (for another P-40B kit), although it was really a waste of money. The Kit exhausts are fine and fit without any mucking around. The rivet detail doesn't bother me. In fact I think it kind of adds to the effect. The kit also comes with some photo etch.
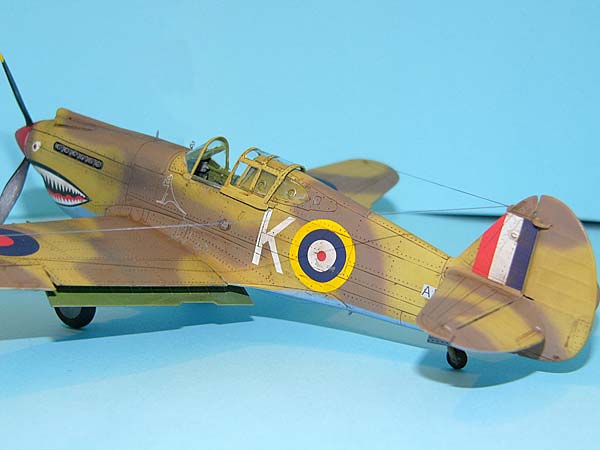
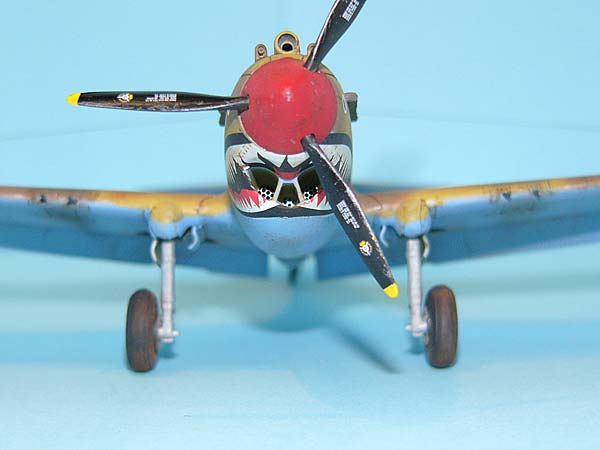
Dispite the kit's shortcomings, I think it builds into a nice looking model. I like the RAF WW2 desert scheme and think the Shark mouth really goes well with the P-40 (all models), it just seems to go well with the intake.
The Build
The kit builds up pretty easily. I sanded off the panels under the tail planes and the radio bay door as they were proud but should be flush with the airframe. I scribed around the panels before sanding.
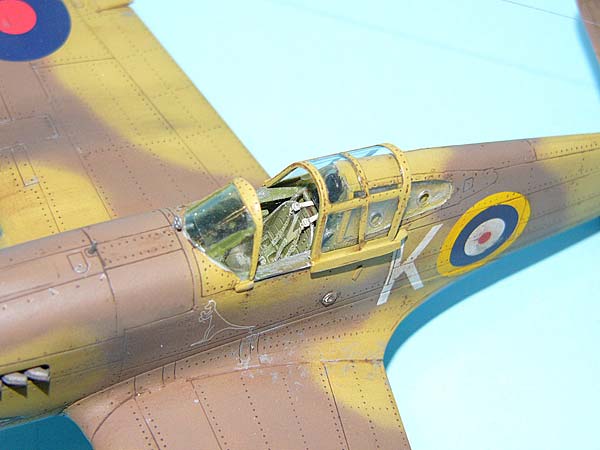
The pictures below show the shallow cockpit. Another problem is the instrument panel arrangement. The panel is a clear piece of plastic with holes which you paint black. There is not decal for instruments so I just used a piece of paper behind the plastic, I drew a few small black lines on the paper. You can't see that well in there, again I wasn't interested in going mad so I left it at that.
It needed a bit of work/putty around the upper cowling but apart from that it want together pretty well. Trumpeter certainly give you plenty of bits to stick together which is nice. I also left the flaps down even though I'd read they were never left like that. Still there's some nice detail there and it's only a model after all.
The kit was painted with Gunze 71 Mid Stone and Tamyia XF 52 Flat Earth acrylics for the upper surfaces and Model Master Enamel RAF Azure Blue for the underside. At first I thought mid Stone looked to yellow and the brown, just not right. But now I'm happy with them.
The usual coat of Kleer was applied then the kit decals. They went on well, although the sharks mouth gave me a few stressful moments. Plenty of Micro Sol helped these go down. Another coat of Kleer then enamel wash for a mixture of whatever browns I had lying around. After this was cleaned of it was sealed with a coat of Gunze Cleat flat and some weathering with pastel chalks and a Silver artists pencil. These were sealed with another coat of Gunze flat and the aerial of Ezy line attached.
All in all I'm pretty happy with the result. Pretty good value for money and nice decal option straight out of the box.
© Copyright 2004-2013 VenturaPublications.com and contributors.
|